
4.2. Installation And Launch#
The web application ships with pyCSAMT. It needs the optional app
dependencies (Dash, Dash Bootstrap Components, and Plotly) in addition to the
scientific core. This page covers installing those dependencies, launching
the server, and the command-line options that control host, port, browser, and
debug behaviour.
Tip
Want to try the web app without installing anything? A hosted instance is linked from Hosted Applications.
4.2.1. Install The App Extra#
Install pyCSAMT with the app extra to pull in the web and GUI
dependencies:
pip install "pycsamt[app]"
For development from a source checkout, install in editable mode with the
app and dev extras:
pip install -e ".[app,dev]"
The web layer builds on Dash 4, Dash Bootstrap Components 2, and
Plotly 6, over the usual scientific stack (NumPy, SciPy, Matplotlib, and
pyproj). If Dash or Dash Bootstrap Components are missing, the launcher stops
with a clear message telling you to install pycsamt[app].
4.2.2. Launch The Web App#
Start the server with the console command:
pycsamt-web
The launcher binds to 127.0.0.1:8050 by default, prints the URL to the
terminal, and opens that URL in your default browser after a short delay. If
port 8050 is already in use, it automatically selects a free port and
prints the substitute:
pycsamt web app → http://127.0.0.1:8051
requested port 8050 was busy; using 8051
From a source checkout, the module entry point launches the same application:
python -m pycsamt.app.web
Leave the terminal open while you work — it hosts the Dash server. Press
Ctrl+C in the terminal to stop the app.
4.2.3. The Welcome Screen#
On first load, before any data is present, the app shows a welcome screen with four capability cards and a single call to action.
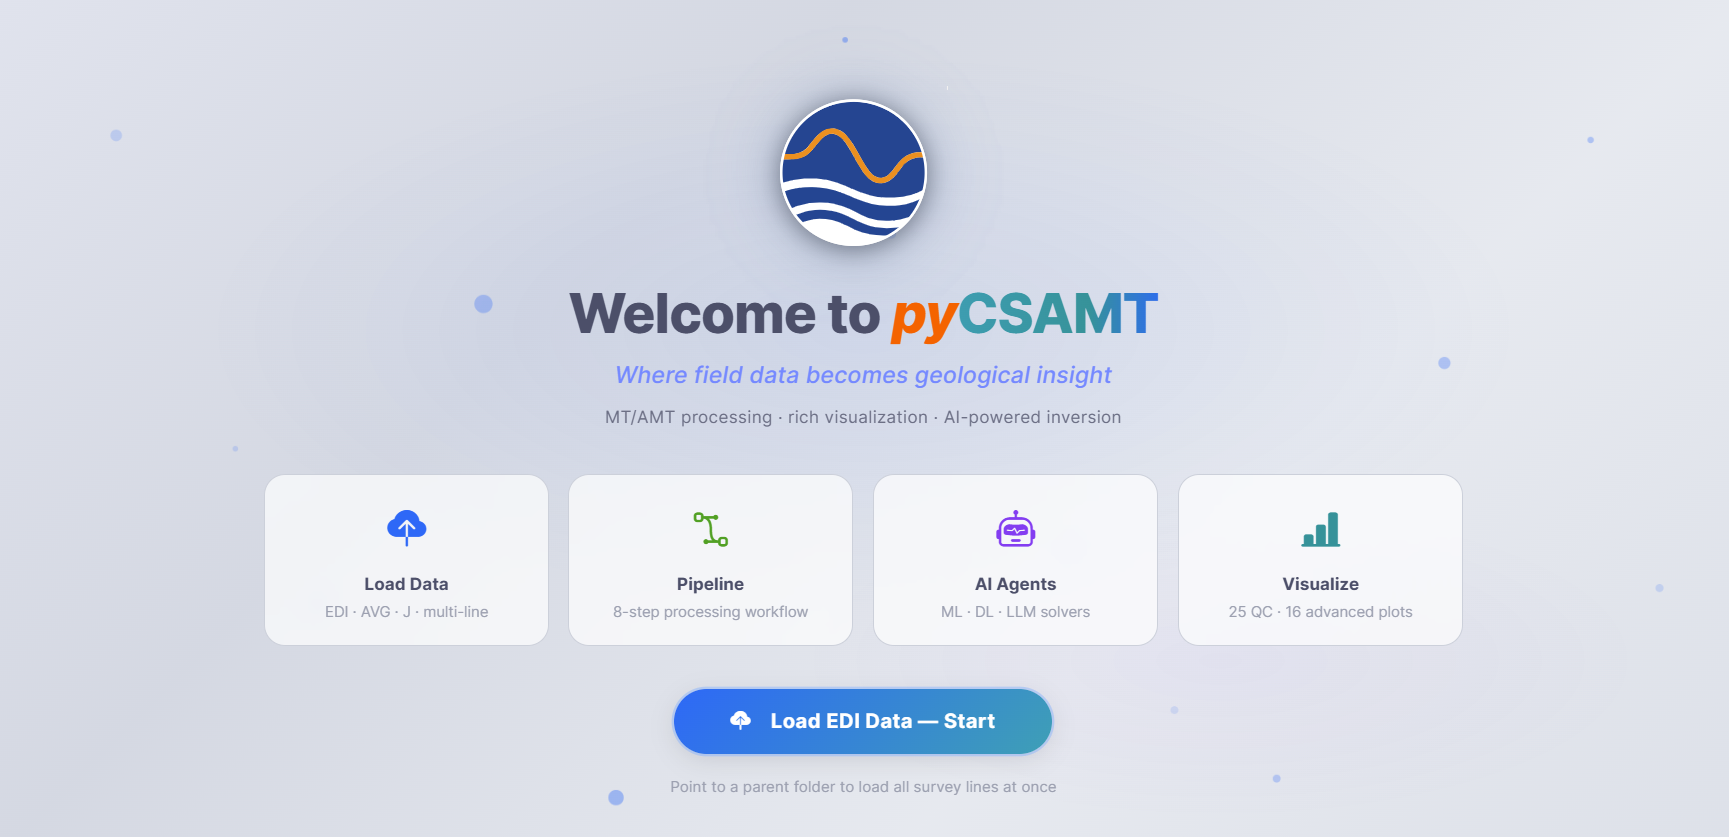
The welcome screen. Load EDI Data — Start opens the loader; the hint below it reminds you that pointing at a parent folder loads every survey line at once.#
The four cards summarise what the app does: Load Data (EDI, AVG, and J files, multi-line), Pipeline (the eight-step processing workflow), AI Agents (ML, DL, and LLM solvers), and Visualize (25 QC plots and 16 advanced plots). Click Load EDI Data — Start to open the loader, or use Load Data on the command bar at any time. Loading is covered in Loading Data And Sessions.
4.2.4. Command-Line Options#
pycsamt-web accepts the following options. They can also be passed to
python -m pycsamt.app.web.
Option |
Effect |
|---|---|
|
Bind address. |
|
Preferred TCP port (default |
|
Fail immediately if |
|
Enable Dash debug mode: the Dev Tools panel and callback error reporting in the browser. |
|
Start the server without opening a browser. |
|
Seconds to wait before opening the browser (default |
4.2.5. Examples#
Run local-only on a fixed port without launching a browser (useful on a headless machine or when you will open the URL yourself):
pycsamt-web --host 127.0.0.1 --port 8060 --no-browser
Let the operating system pick a guaranteed-free port:
pycsamt-web --port 0
Fail loudly if the requested port is taken, instead of silently moving to another one (useful behind a reverse proxy that expects a fixed port):
pycsamt-web --port 8050 --strict-port
Enable Dash dev tools while developing callbacks:
pycsamt-web --debug
Note
--debug is intended for development. It enables hot-reload-style dev
tools and exposes callback tracebacks in the browser. Do not use it for
shared or exposed deployments; see Deployment Notes.
4.2.6. Verify The Launch#
After launching, confirm that:
the terminal prints
pycsamt web app → http://…with a reachable URL;the browser opens to the welcome screen (or your last view);
the command bar shows Tools, Settings, and Help on the left and the survey actions on the right.
If the browser does not open automatically, copy the URL from the terminal. If the page is blank or the port is busy, see Troubleshooting.
4.2.7. Next Steps#
Navigation And Layout – the command bar, navigation rail, and home dashboard.
Loading Data And Sessions – load EDI folders and manage survey lines.
Deployment Notes – host, port, and network considerations for shared use.