
5.2. Installation And Launch#
Agent Master is installed from the same pyCSAMT package as the command-line tools and the scientific library. What changes is the dependency layer: the application needs the optional app extra, which adds the Dash and Plotly components used to render the browser interface. Installing that extra once is enough for Agent Master, the desktop GUI, the web app, and MapView.
The launch model is deliberately simple. Agent Master starts a local server, your browser connects to that server, and all survey files continue to be read from the machine where the command is running. Workflows run immediately in the deterministic Offline mode with no LLM provider or API key required; configuring a provider only adds fluent, LLM-assisted understanding and prose on top of the same workflows (see LLM Configuration).
Tip
Want to try Agent Master without installing anything? A hosted instance is linked from Hosted Applications.
5.2.1. Install The App Extra#
For a normal user installation, ask pip for the application dependencies:
$ pip install "pycsamt[app]"
That command installs the base pyCSAMT package together with the extra packages needed by the graphical applications. It is the right choice when you want to use Agent Master rather than edit its source code.
From a source checkout, install in editable mode so Python imports the working tree directly:
$ pip install -e ".[app,dev]"
Editable installation keeps the package linked to the checkout while adding
the app dependencies and the dev tools used by tests and documentation
builds. In either case, install inside the Python environment you intend to use
for pyCSAMT. If two Python installations are present, verify with
python -m pip so the package and launcher land in the same environment.
Once the package is available, the console script can be inspected without starting the server:
$ python -m pycsamt.app.agent_master --help
usage: pycsamt-agent-master [-h] [--host HOST] [--port PORT] [--debug]
                            [--no-browser]

Launch the pyCSAMT Agent Master GUI.

optional arguments:
  -h, --help    show this help message and exit
  --host HOST   Bind address (default 127.0.0.1)
  --port PORT   HTTP port (default 8765)
  --debug       Enable Dash debug / hot-reload
  --no-browser  Do not open browser automatically
Seeing those options confirms that Python can import Agent Master and reach its
entry point. The console command installed by the package is shorter
(pycsamt-agent), but the module form above is useful because it always runs
through the selected python executable.
5.2.2. Launch#
Start Agent Master with the installed launcher:
$ pycsamt-agent
By default the launcher binds to 127.0.0.1 on port 8765 and opens
http://127.0.0.1:8765 in your default browser after a short delay. The
address 127.0.0.1 means local-only: other machines on the network cannot
reach the app unless you explicitly choose a different host. This default is
the safest setting for ordinary interpretation work because the browser UI,
loaded EDI paths, generated scripts, exported figures, and model-provider
settings remain attached to the local workstation.
The module form starts the same application and is often clearer in notebooks, temporary environments, or source checkouts:
$ python -m pycsamt.app.agent_master
Leave the terminal open while you work; it is the process hosting the
Dash app. Press Ctrl+C in that terminal to stop the server and
release the port. Closing only the browser tab does not stop the Python
process.
5.2.3. Options#
The same options can be passed to pycsamt-agent or to
python -m pycsamt.app.agent_master. They control the network bind, the HTTP
port, browser opening, and development behaviour.
Option |
Effect |
|---|---|
|
Bind address (default |
|
HTTP port (default |
|
Start the server without opening a browser tab. Use this on headless machines, remote sessions, or when you prefer to copy the URL manually. |
|
Enable Dash debug mode, including development diagnostics and hot reload. Use it only while developing Agent Master itself. |
Here are the common launch patterns:
$ pycsamt-agent --port 8770
Use a different port when 8765 is busy. The URL becomes
http://127.0.0.1:8770.
$ pycsamt-agent --no-browser
Use this when the command is running in a terminal that cannot open a browser. Copy the printed URL into a browser that can reach the same host.
$ pycsamt-agent --host 0.0.0.0 --port 8770 --no-browser
This binds the server to all network interfaces on the machine. It is useful
for a trusted LAN or a controlled remote workstation, but it also makes the
interface reachable beyond localhost. Treat that setting as a deployment
decision, especially if prompts, paths, reports, or secret values may
be visible in the session.
5.2.4. The Welcome Screen#
On first load, before any survey is attached, Agent Master shows a welcome screen with a single call to action.
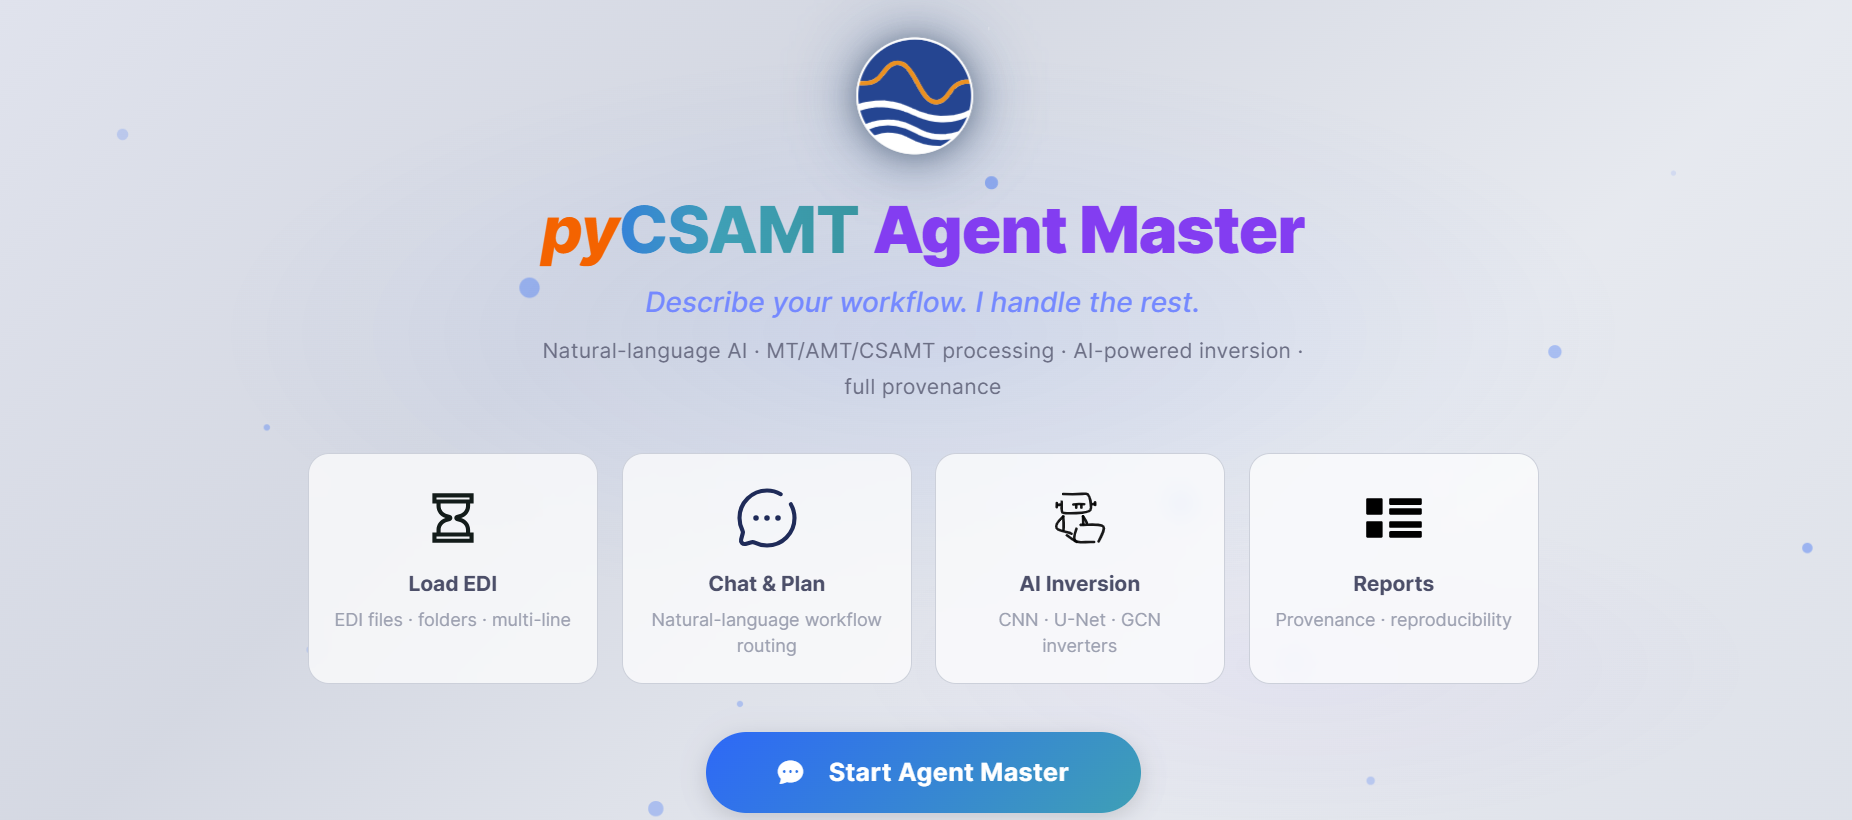
The welcome screen summarises the four things Agent Master does - Load EDI, Chat & Plan, AI Inversion, and Reports - and starts the session with Start Agent Master.#
The screen is intentionally sparse. Load EDI is where the session becomes data-aware; Chat & Plan is where natural-language requests are routed into pyCSAMT workflows; AI Inversion prepares or runs inversion-oriented tasks; and Reports collects narrative output, generated scripts, and figures. That order is also the usual work rhythm: load the survey, inspect what was read, let the assistant plan a reproducible action, then export the products that explain the result.
5.2.5. Verify#
After launch, confirm that:
the terminal reports the server is running on
http://127.0.0.1:8765;the browser opens to the welcome screen (or copy the URL manually on a headless host);
Settings (the gear icon) opens and shows the LLM provider options;
Default figure export is set to the format you want before running workflows that produce figures.
If the browser does not open, the page is blank, or the port is busy, see Troubleshooting. If the interface opens but chat or planning requests ask for a model, finish LLM Configuration before retrying the request.
5.2.6. Next Steps#
LLM Configuration – connect Claude, OpenAI, Gemini, DeepSeek, or MiniMax, or run fully offline.
Welcome Screen And Chat – the interface, loading data, and chatting.